How to create Citypage Business Profile for free?
You probably have reached here after searching for ways to promote your business or freelancing portfolio. Spending on advertisements may not be affordable for you. But you have to promote your works in order to grow your career. Citymapia- a complete online promotion agency gives you one free digital marketing solution as a token of love. Because we know that you deserve to be noticed!
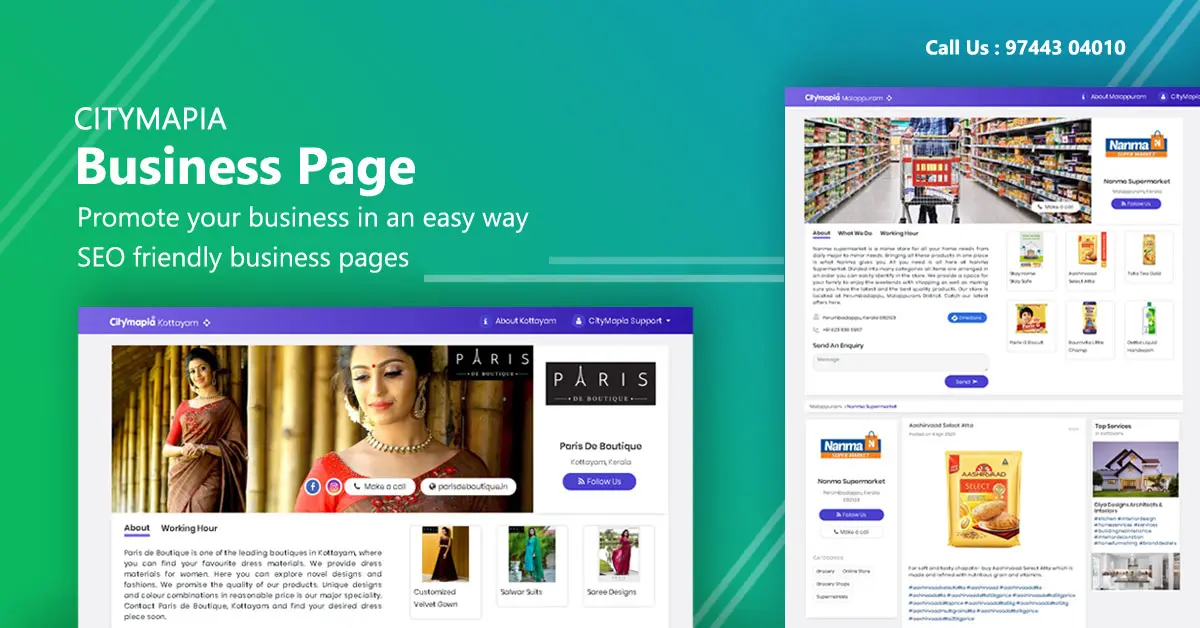
Meet Citymapia’s Citypages- a truly simple tool letting the people in your location know your products/services/offerings. Anyone who visits your page can get the complete idea of your works, on a single page. Moreover, if you are a person or organization who wants to build an online presence but cannot invest in building a website, Citypages are your mini-website. Not only can your audience get to see you but also enquire on this web page to connect with you.
So with that said, let us go step by step in creating your business page/mini-website!
Step 1 : Log on to https://www.citymapia.com or paste this URL on your private browser.
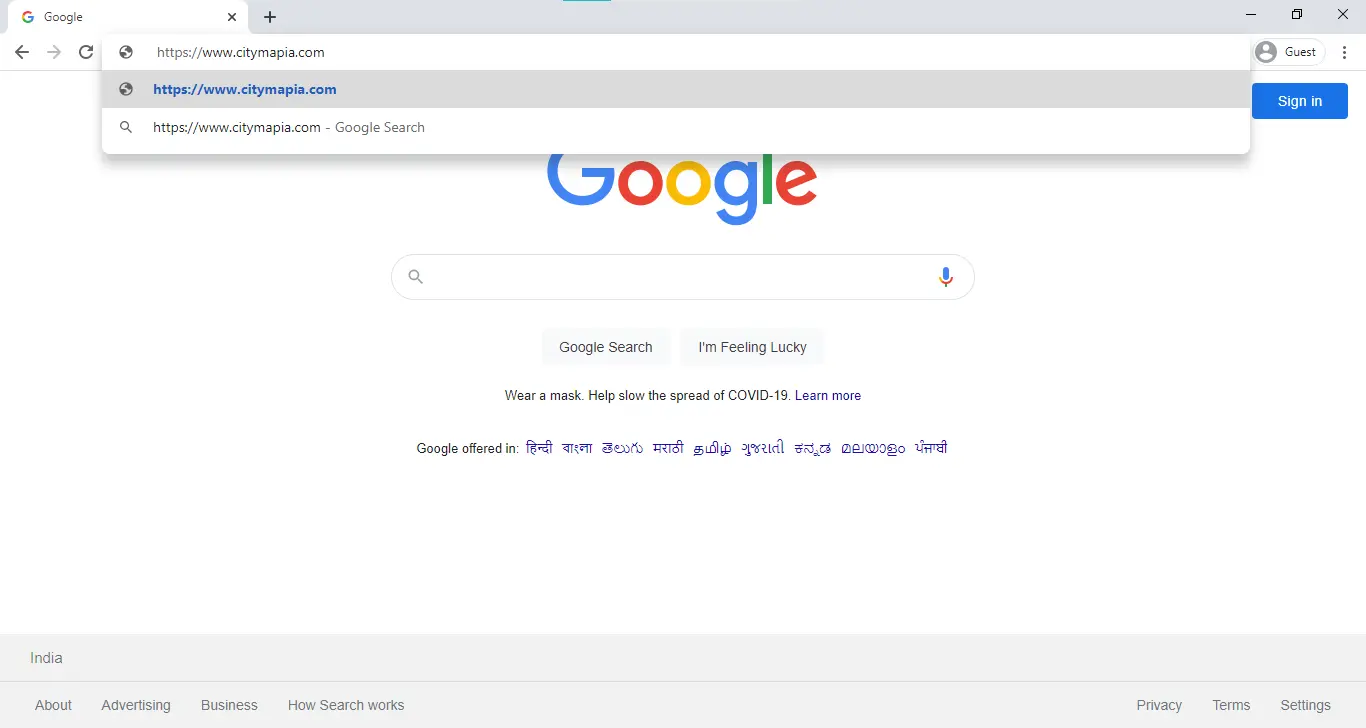
Step 2 : You will be directed to the official page of Citymapia. At the top right corner, you will see a Sign-in option. Click on it!

Step 3 : A popup will appear asking you to sign in using 3 options. You can either Sign up as New User or use Google mail(Gmail) or Facebook to log in.
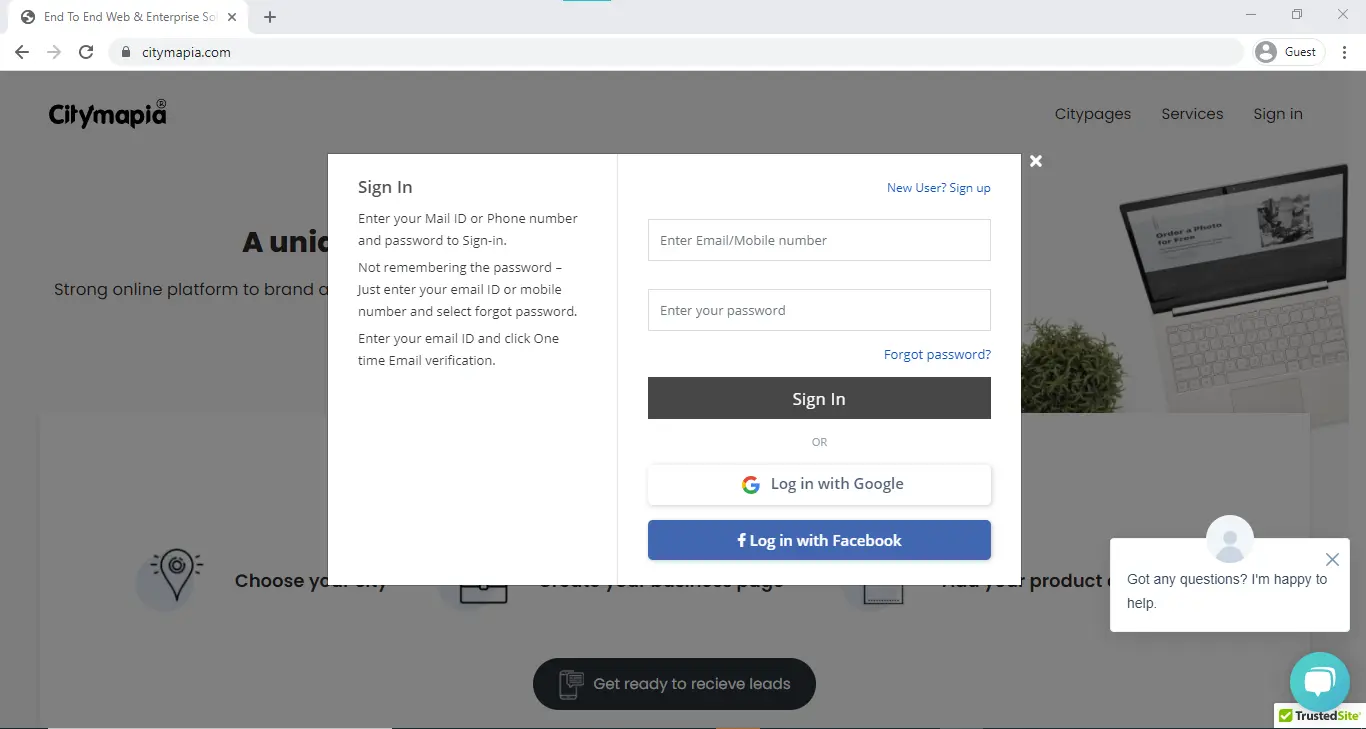
On clicking any of the 3 options, you may have to enter your email id, phone number and other details to get verified as well as secured.
Note- Your passwords, OTPs and other valuable information cannot be seen to us. Do not share them with anyone!
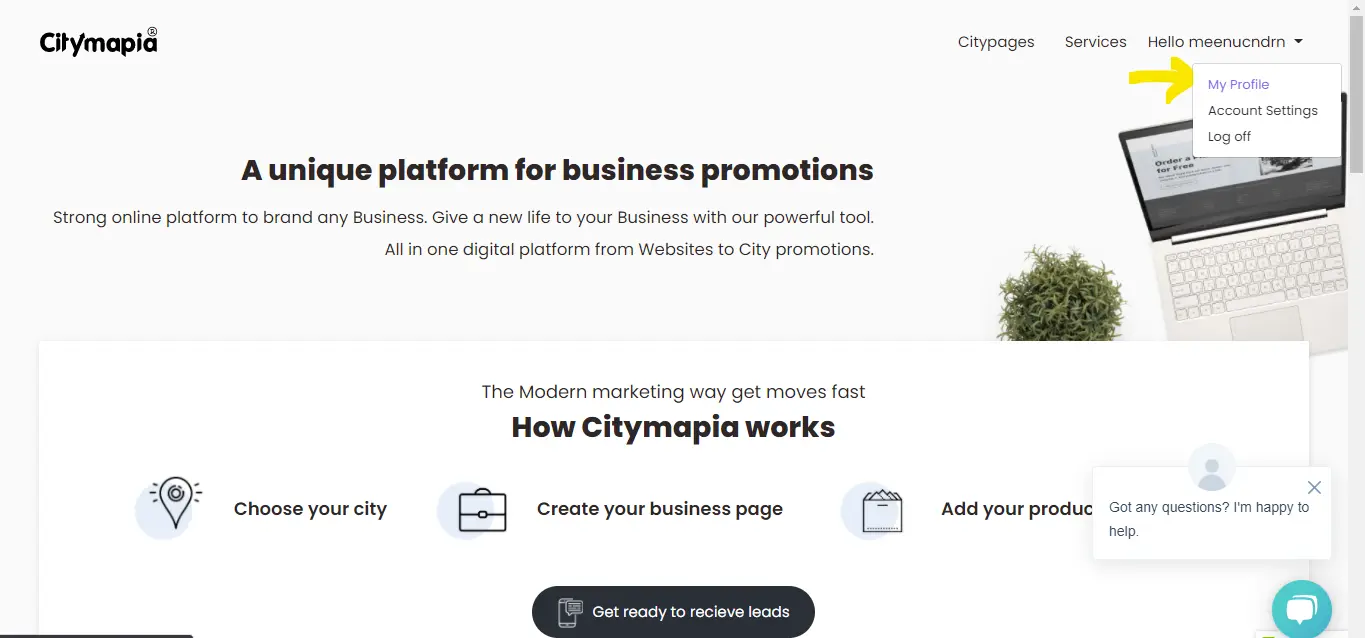
Step 4 : After successfully logging in, the home page of Citymapia will display Hello (your name) at the same top-right corner where you clicked sign in previously. Clicking on the drop-down button near, it will give you 3 options- My Profile, Account Settings and Log Off. Click on My Profile!
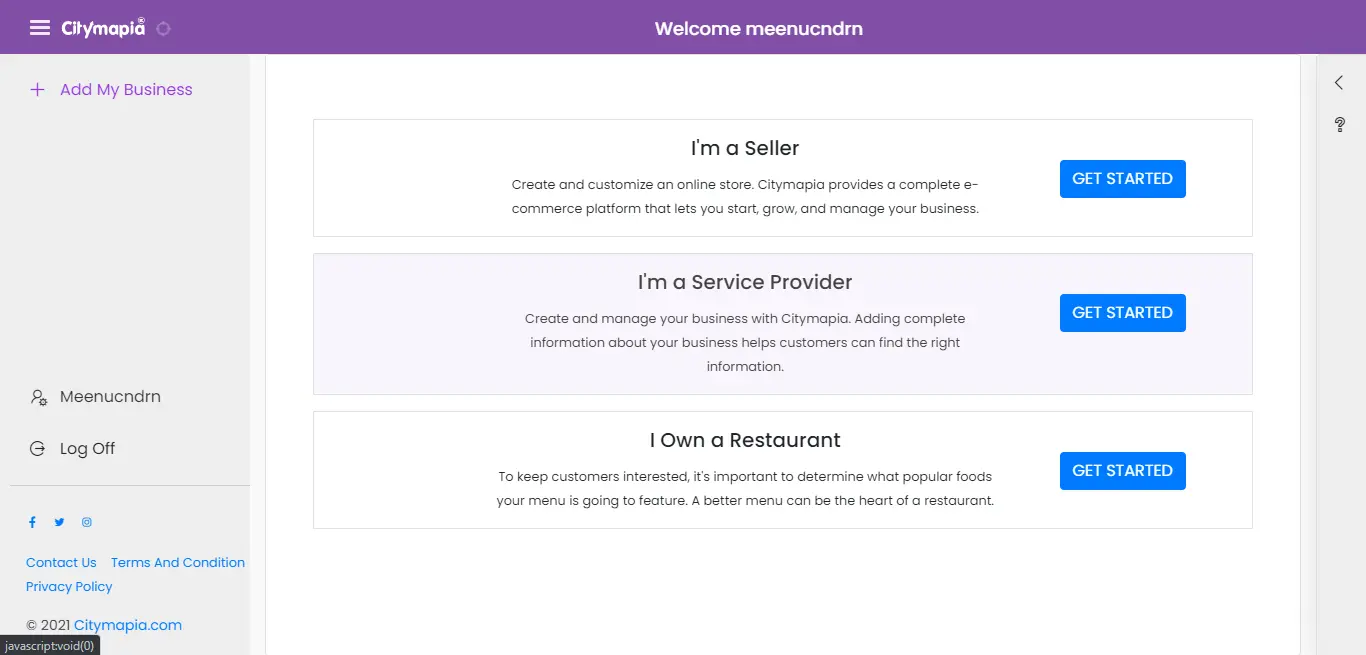
Step 5 : You will again be greeted to a page that will ask the type of business/portfolio you have. For example, if you are a store and looking for the best eCommerce platform to sell your products, choose- I’m a Seller. If you are a freelancer/service provider(for example hospital, IT Company), choose- I’m a Service Provider. Finally, if you own a restaurant/bakery having a menu, choose- I own a Restaurant. Choose by clicking ‘Get Started’ in any one of these.
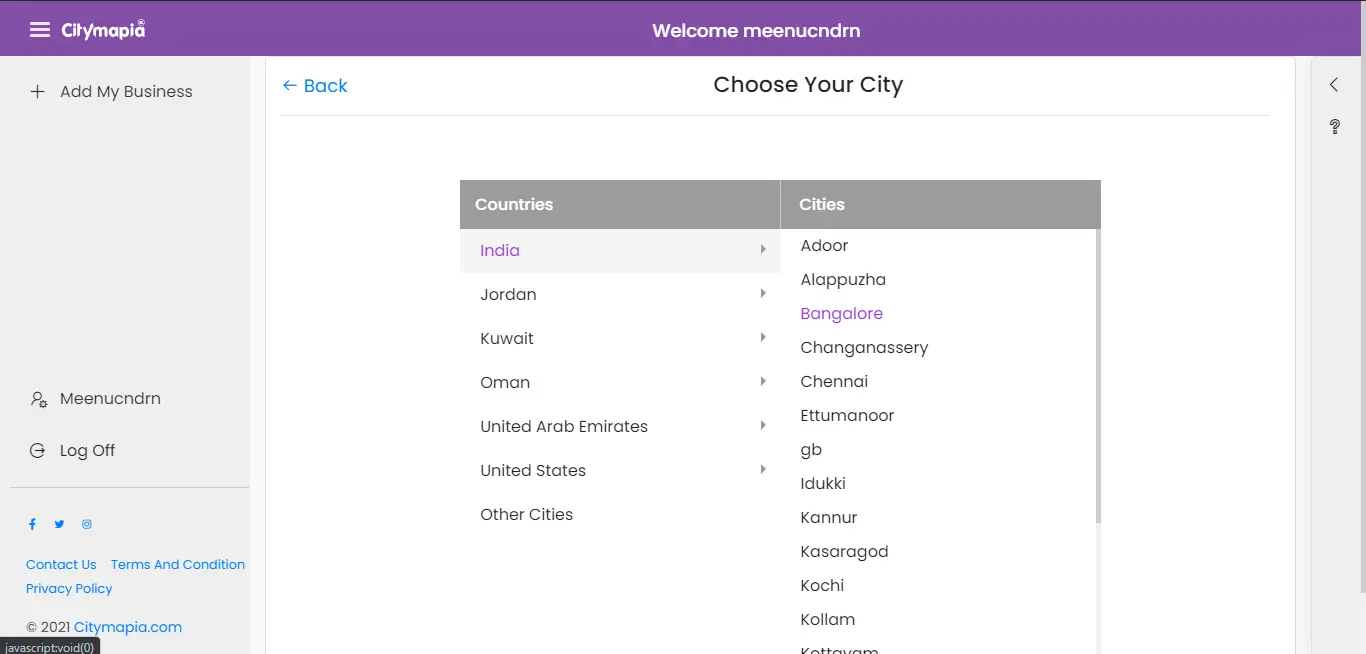
Step 6 : After choosing one among the 3 options, you will be asked for the country and city where your business operates. You can select the country from the left whereas the city from the right.
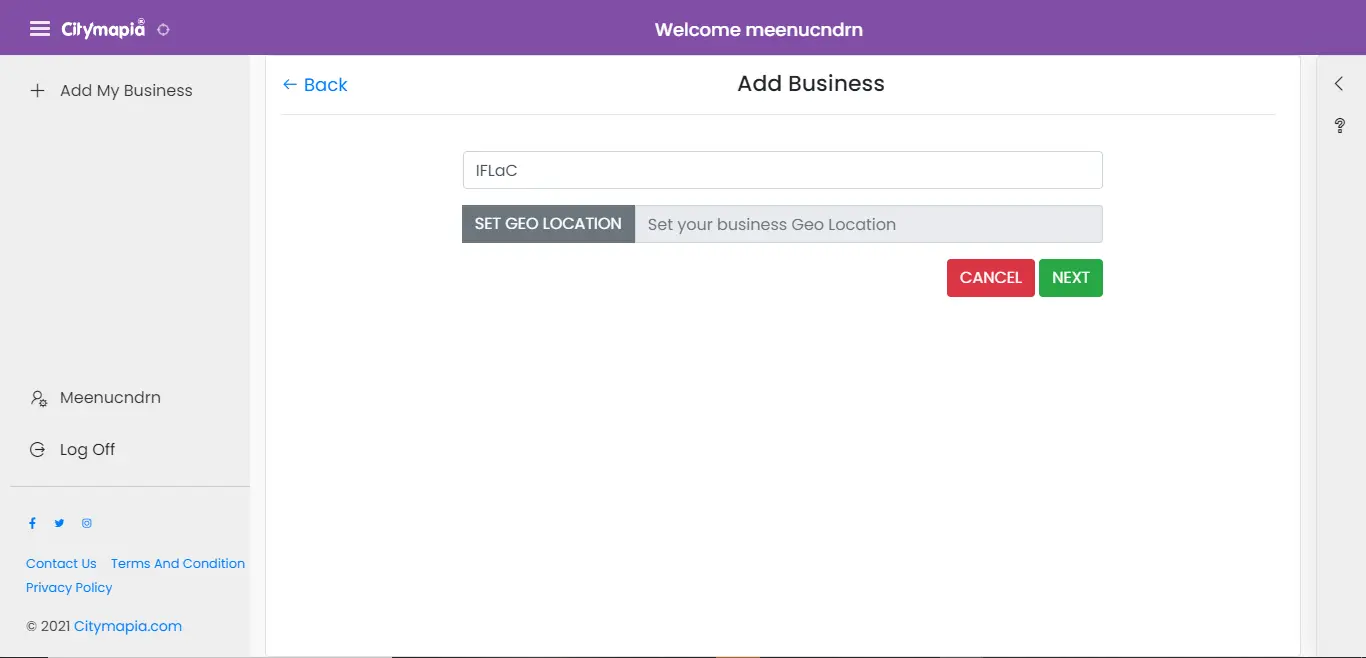
Step 7 : Next a page appears asking your business name and geolocation(google location). Click ‘Next’ to proceed further.
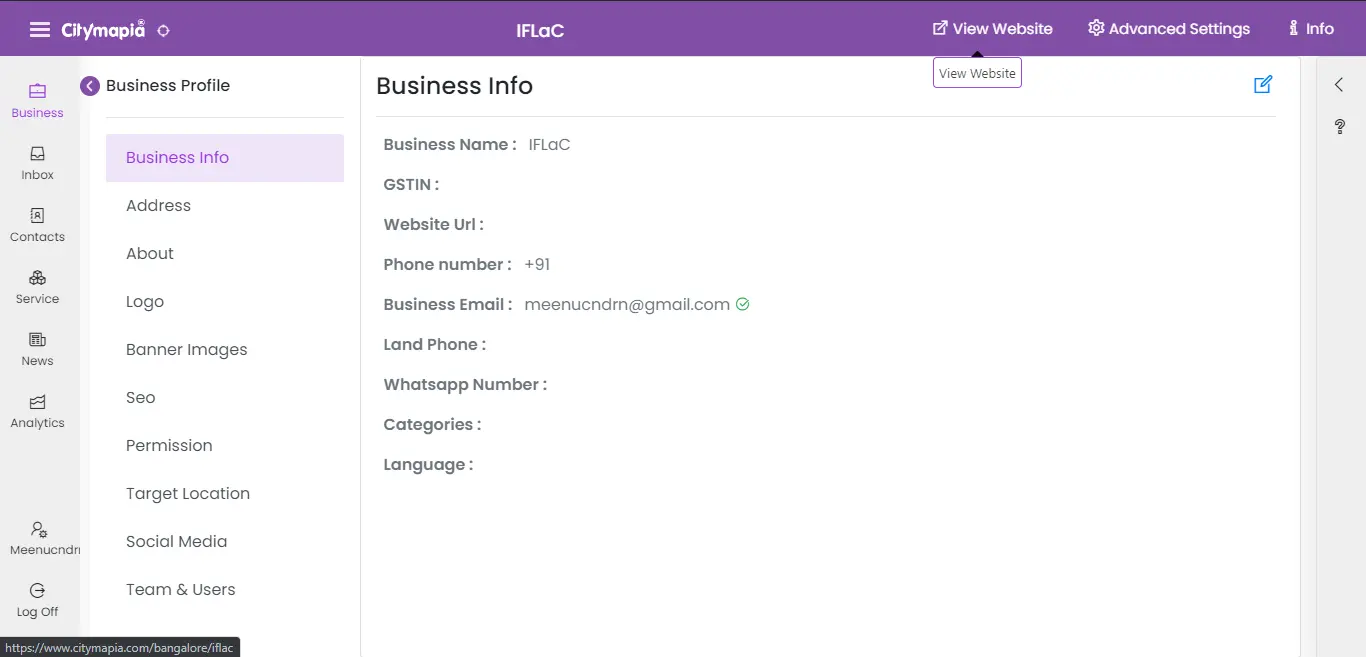
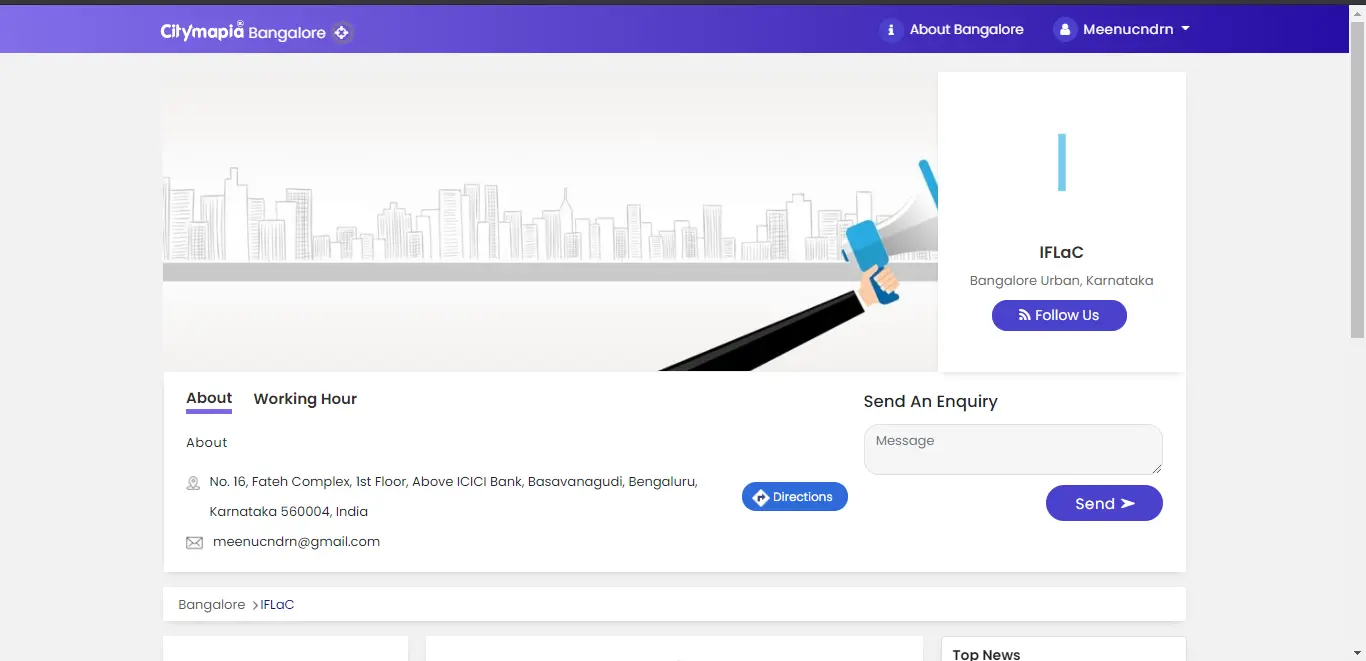
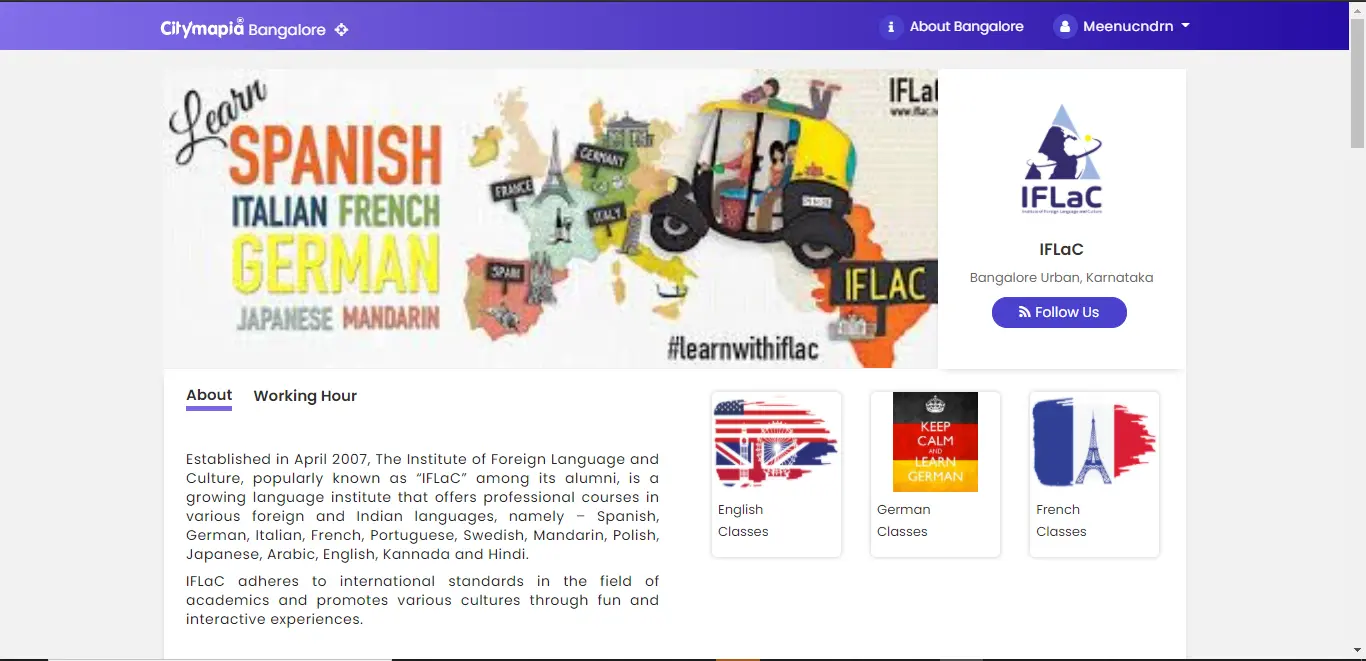
Step 8 : Congratulations you have successfully created your business all by yourself! What you now see is the administrative end of your free website building. On the top part, you have an option named - View Website. Click on it to see your website structure.
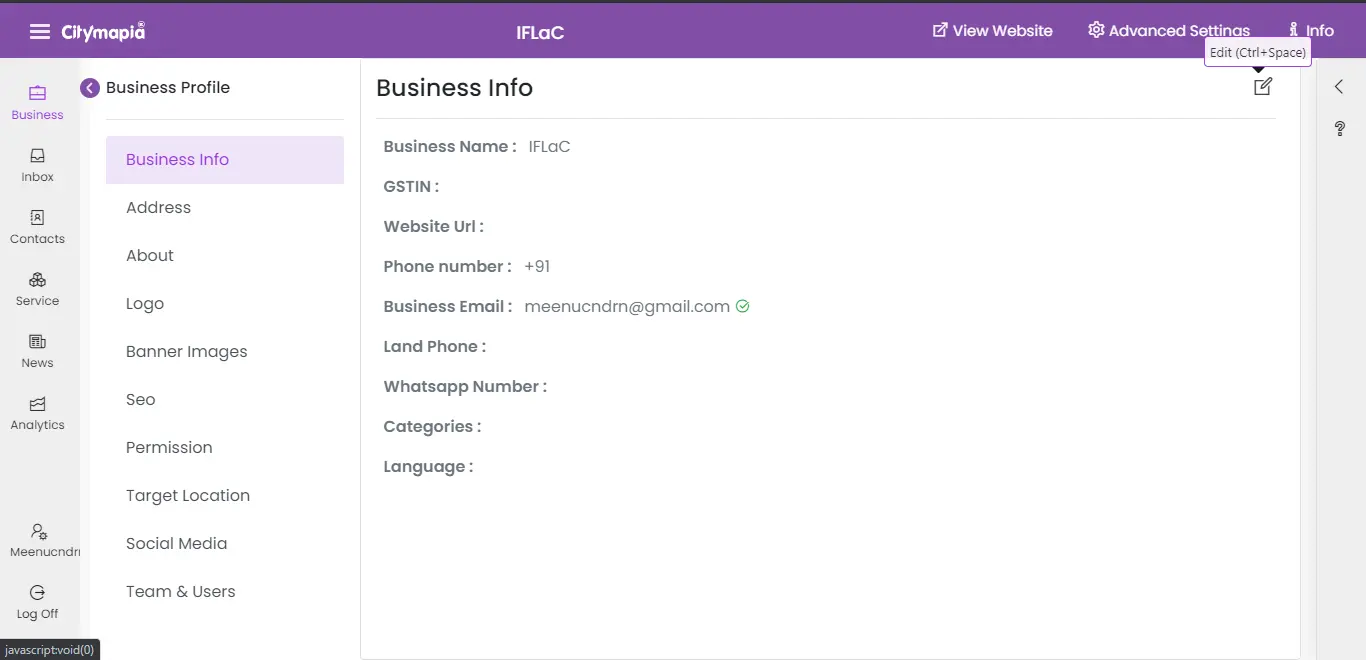
Step 9 : Now as the structures of both the back end and front end of your free website creation is done. Let us add more information of your business/organization one by one. Click on the Edit icon(as shown in the image below) and add information such as GST number(not mandatory), your website URL, Phone number, business mailing address, Whatsapp number, landline, categories(select from the dropdown while clicking categories) and finally the language. After entering the details, verify and save them.
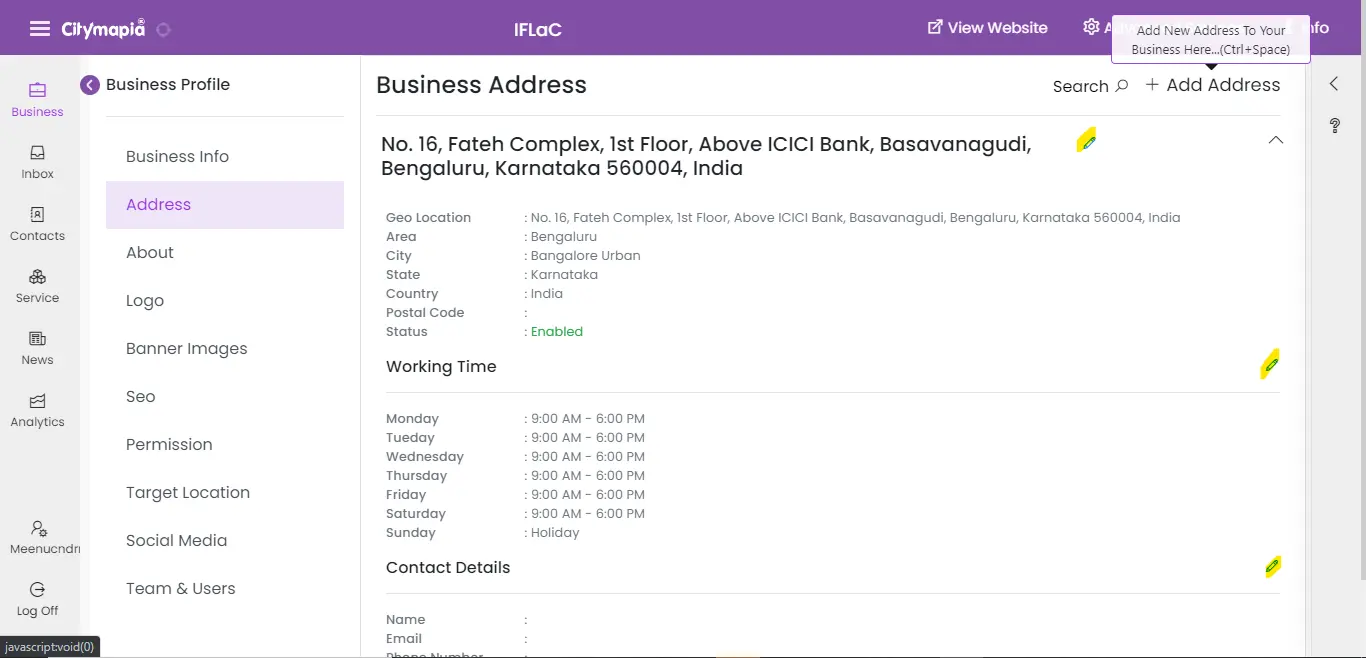
Step 10 : Below the Business Info is the Address. This page is divided into three sections- Business Address, Working Time and Contact Details. Already the address will be added based on the geolocation you gave in Step 7. You can add the postal address manually also by clicking on the pencil icon. If your business/organization has additional branches, you can add using the Add Address present near the top right corner. Similarly, other sections can be edited/added by clicking the pencil icon of the respective sections. Make sure you click on ‘Save’ button to save the changes you made.
Step 11 : Following Address is the About page where you can give a short description of what your business is all about. Once you finish click on the ‘Save’ button.
Tip- Make your description short and provide maximum information about your business to the audience.

Step 12 : Time to get your business logo uploaded. By clicking on the camera icon on the ‘Logo’ page, you can upload the logo from the device you are using.

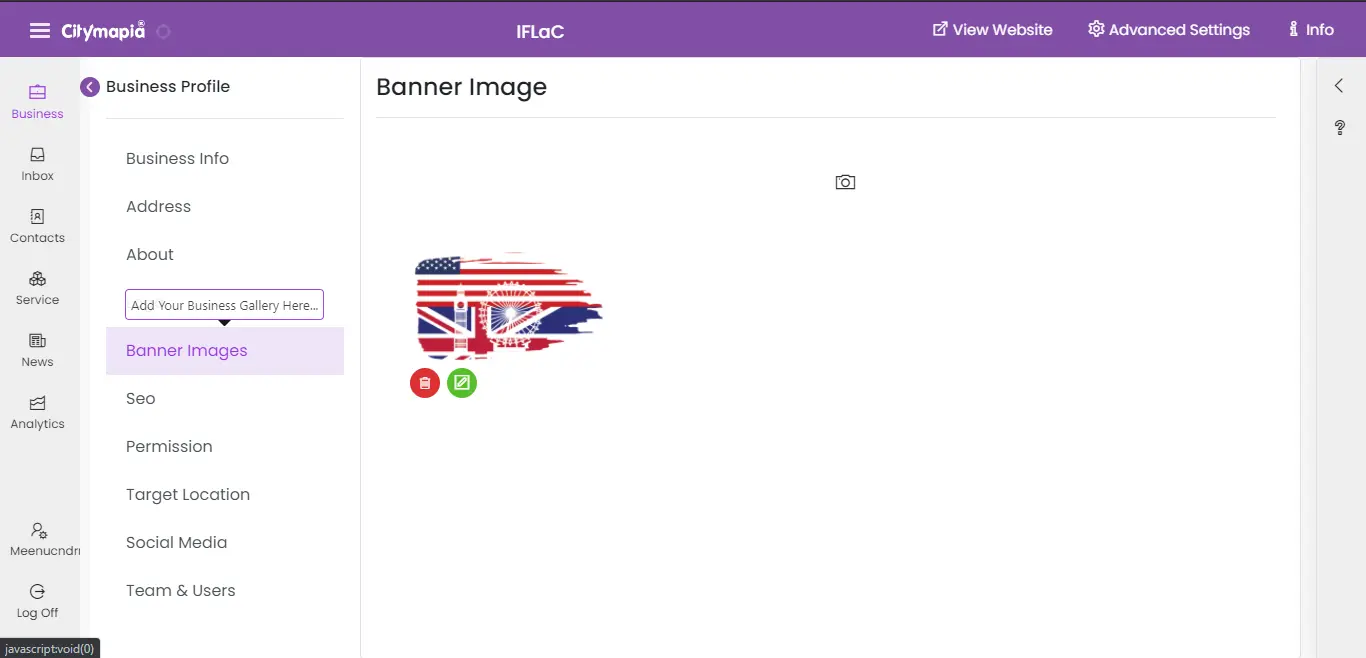
Step 13 : As seen with the logo, you can upload multiple banner images or cover images for your business page.
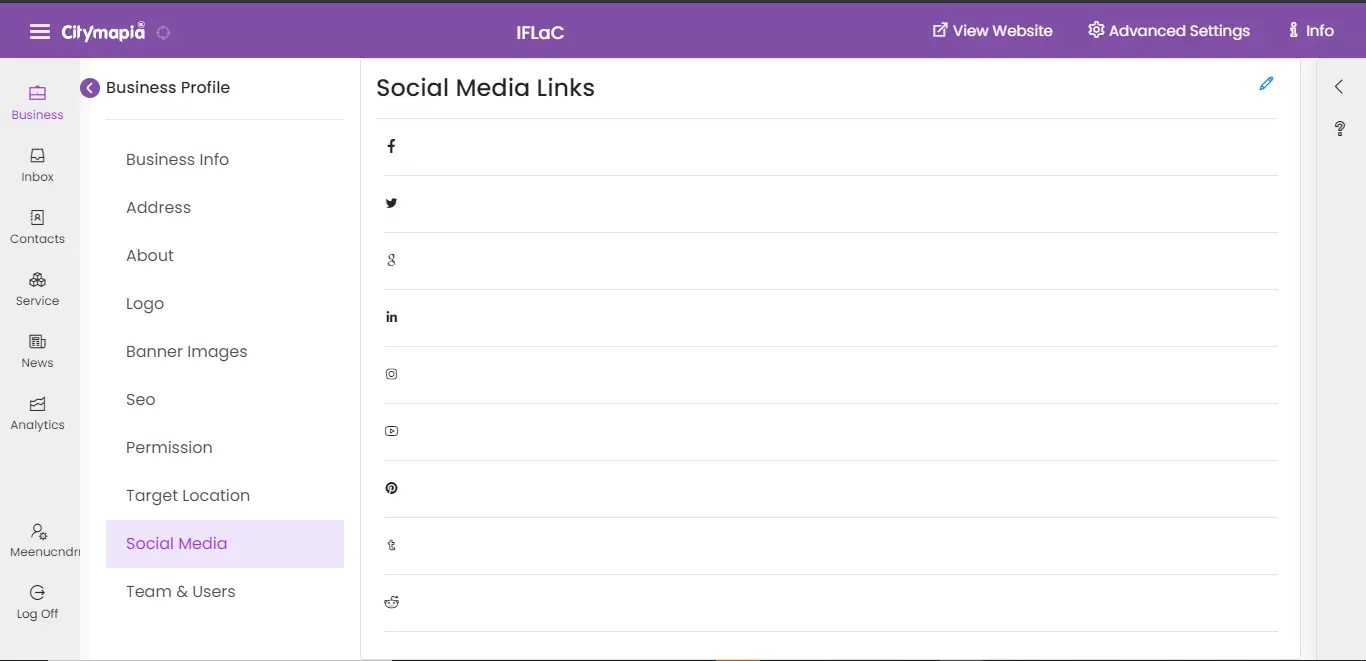
Step 14 : Skip on to the second last option- Social Media. You can link social media of your business such as Facebook, Twitter, Instagram and Linkedin to this simple website builder. By now, you know how to add these social media to this platform.
Step 15 : You can add your team to manage the business profile/mini-website you have made. Just go to Team & Users and click on ‘Create User’ present near the top right corner. You can invite them by adding their email address. You can add more than 2 users to your business.

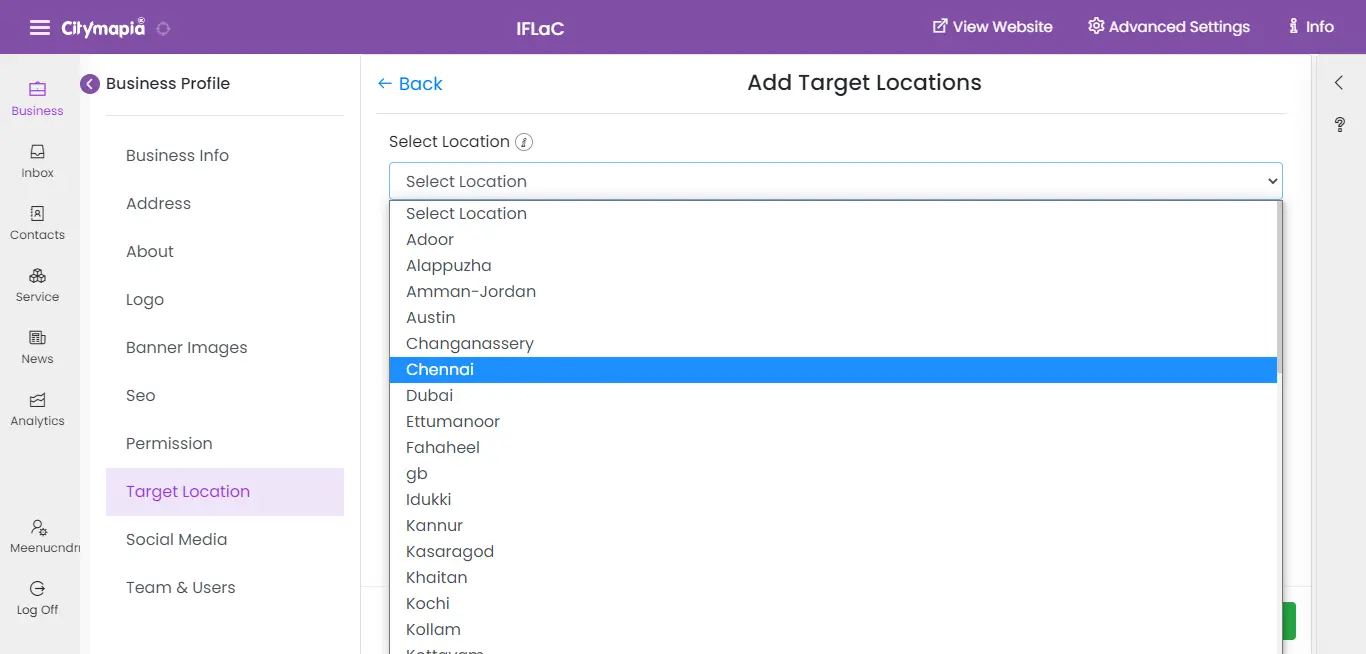
Step 16 : From which all cities do you expect your future clients? Make a decision and select Target Location and click on Add Targeted Areas to choose cities. You can add multiple cities and your business profile will appear to the Citymapia users present at that location.
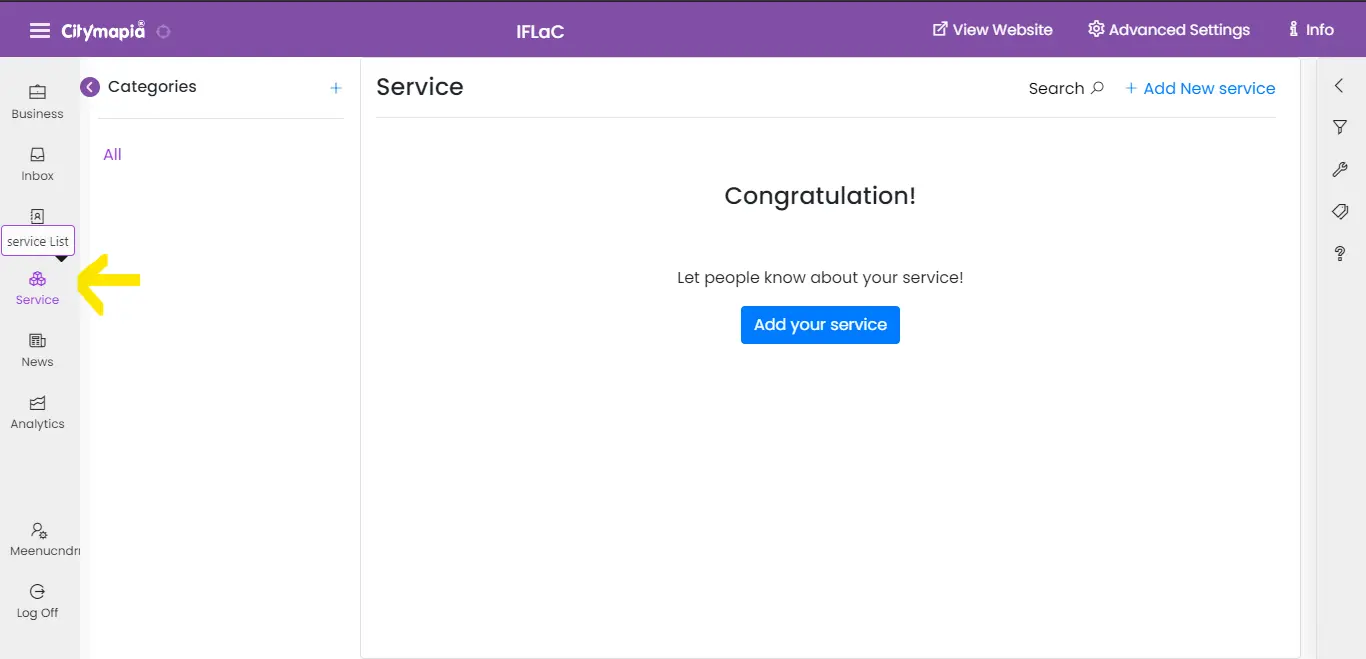
Step 17 : Now all the basic information of your business is perfectly done. Let’s go to the last and important step. Click on the Products/Services/Menu( depends on the choice you have made in Step 5). You can add your services one by one by clicking Add New Service.
Step 17-a : When adding New Service, you can either add categories first or skip the category session by clicking on ‘Skip’ button.
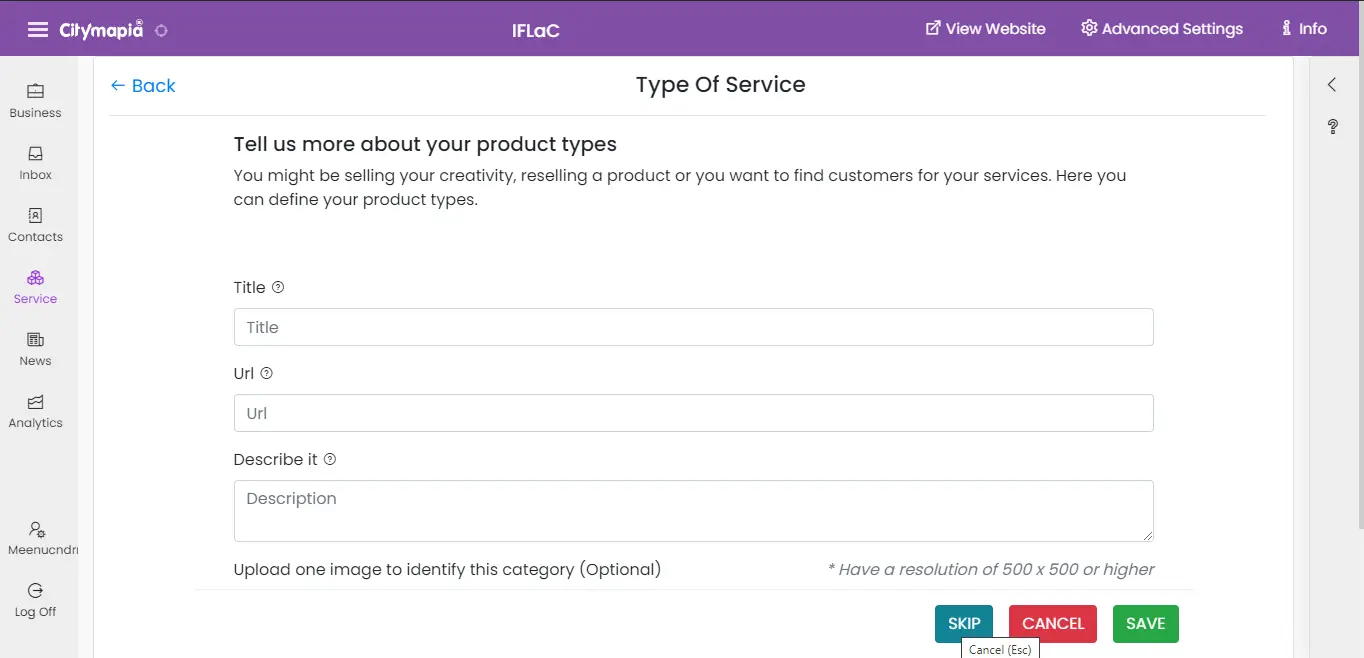
Step 17-b : Adding Products/Services/Menu - Enter the name, followed by caption(not mandatory), relative URL will be automatically be entered on clicking that respective field based on the name you have entered, description about the product and finally specification( if there is one). In the end, there is a camera icon to upload a picture of the product/service/menu.
After saving the product appears on the dashboard. Similarly, you can continue adding your items, there are no limits. Phew! Finally, you have your business page ready! Just click on the View Website on the top to see the completed business profile/mini-website using our easy website builder.
Promote your created Business profile!
Now as you have created your business profile/mini-website using the best free website builder. The next thing you need to do is to promote your business page.
Well, you will find it here- 5 ways to promote your business’s Citypage profile for free! Wouldn’t that make you happy, knowing how you can promote your business for free again?
In case you need a hand- Citymapia’s digital marketing services can promote this business profile using online marketing for a complete year at just one-time payment!.
Let's connect to know more!